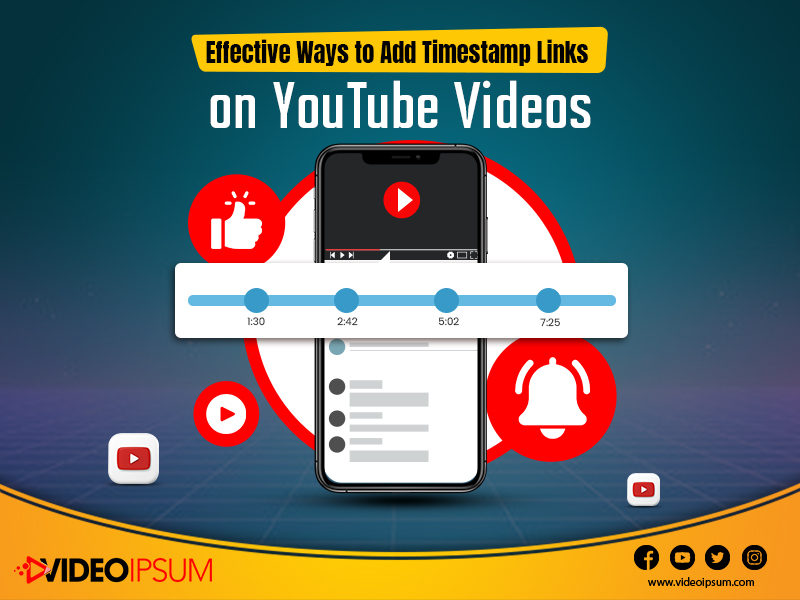

This is a known fact that internet users
are very keen to learn a lot but within just 8 to 10 seconds. Adding a
timestamp will allow your audience to understand that they don’t have to invest
a lot of their time in that particular video and this is why this option has
become extremely popular on YouTube. To successfully incorporate this into your
video you need to follow some simple steps starting with the introduction of
YouTube Timestamp links. Then you will need to use a desktop or mobile to add
the Timestamp to the YouTube Video Link.
Ø Step 1: How to Add YouTube Video Timestamp on Mobile:
Another important aspect of this process is
to know how to share a particular part of your YouTube video and to get YouTube
timestamp links on mobile. The process to add a YouTube video timestamp you
will need to have proper knowledge about the process. The entire process is
very easy and can be completed within just 8 steps:
1.
Go to your channel on YouTube
on your Mobile
2.
Select a video to which you
want to add the timestamp
3.
Navigate through the
description box below
4.
Click on the edit button and
edit the description
5.
Move on to the video details
side
6.
Mention the time of the key
part of the video
7.
Add the timestamp format
8.
Click on the save button
This is an efficient way to bring attention
to your releases which will not just allow you to understand each step in a
more detailed way. You can break the video is as many segments as you want this
can be a great way to grip the attention of your audiences. This blog is all
about helping you understand the comprehensive process without missing out on
any minor details.
Ø Step 2: How to Add YouTube Timestamp Link on Desktop?
If you want to add timestamps on your
desktop then you need to follow these steps. Segregating your video will
require dedicated hours and the following steps will ensure success,
efficiently.
1.
Open YouTube Video on your
desktop
2.
Play the video and navigate to
the timeline
3.
Stop at the key moment where
you want to break the video
4.
Click on the share button, a
pop-up will be shown
5.
Just below the URL, there will
be a small box showing ‘start at’
This is how the timestamp will
automatically generate itself but you can change it as per your requirements.
There will be an updated URL you can copy the new URL and share the video or
you can also click on the social sharing buttons provided on the YouTube
interface.
Ø Step 3: How to Share a Particular Part of any YouTube Video
To share a particular portion of the video
you will need to bring attention. for that, you need to follow some simple
steps.
1.
Sign up with Google or any
other social media account
2.
Select the Create Vib option on
the top left corner and paste the URL
3.
Click on the start button
4.
The video will load in the
Vibby editor
5.
To go to the highlighted
portion you can jump to 5 seconds option
6.
Choose the video quality
7.
Navigate to the part you want
to share our start highlighting
8.
Once you are done click on the
finish highlight button
9.
Add a description for each part
10.
Save it
11.
Name each assigned category
12.
You will get a separate link
from Vib to embed the video with blogs and website
This is one of the most efficient ways to
segregate your video and share a highlighted portion with your audience. If you
have a 10-minute video but you want to highlight on a 35-second portion you can
easily do that.
YouTube videos are already very engaging but to increase the engagement rates for relatively longer videos this is a very useful option. This will not just allow you to share your video you can market your video efficiently in this way. These are some of the most useful options to increase awareness for your videos on YouTube. For seamless YouTube promotions you can get the services from VideoIpsum, they will bring as many eyes as you want for your videos.
.Popular Posts
November 03,2022
January 28,2025
September 27,2024
March 10,2025