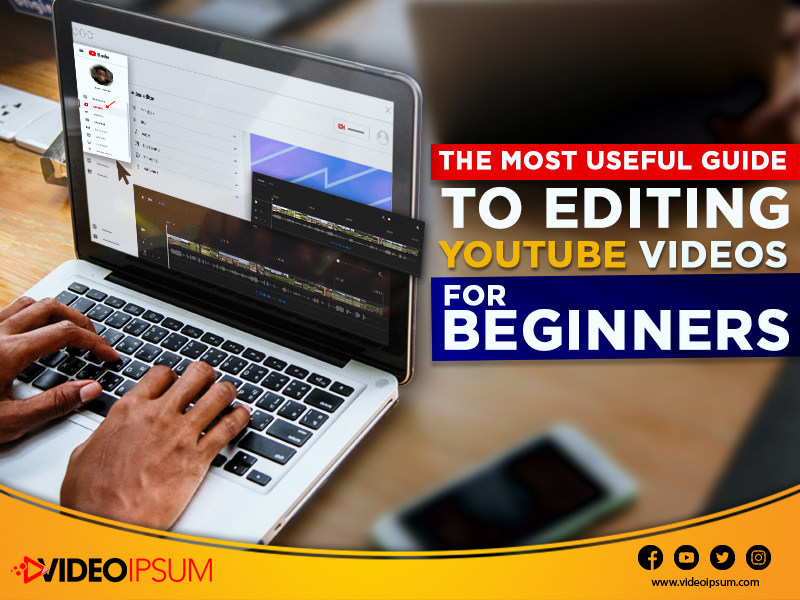

Are you willing to start your own YouTube
journey? Or just juts have started but still figuring out how to edit your
videos properly. If you watch any day-to-day vlog of a YouTube content creator
then you will that they spend quite a lot of time editing a video. Editing a
video plays a very important part in having a better engagement of your videos.
Poorly edited and unpolished videos will not have the same engagement.
Suppose you want to upload a travel video
and the running minutes have been within 10 to 15 minutes. So, you have to
cover up everything within that time and editing will help you to achieve that
crisped feeling of your video. There are plenty of options that can be used to
have some greatly edited video but if you don’t have the budget then the best
option would be opting for the web-based videos editor offered by YouTube. So,
here’s an easy guide to using YouTube’s inbuilt video editor. You must know
that the editor offered by YouTube is very basic but will still make your video
engaging enough.
§ Step 1 – Sign in to YouTube Studio
§ Step 2 – Click on the left sidebar and choose Content
§ Step 3 – In Uploads, click the thumbnail of the video that you would
like to edit
The video editor is compatible with
multiple formatting types. 3GPP, AVI, FLV, MOV, MPEG4, MPEGPS, WebM, and WMV
formats can be edited in this editor. If you are using any of the
aforementioned formats then you can use this editor for your videos.
§ Step 4 – Click on the Editor in the left sidebar
§ Step 5 – Trim the beginning of the end of your video
If you want to trim the beginning or the
end of your video then you have to select the option trim. The option is next
to your video trimmer option right above the time panel. You will find a blue
box; drag them to chop the parts of your videos that you don’t want to have in
your final cut. You can also have a preview before you proceed to the next
level.
§ Step 6 – Trimming your middle clips
First, select the trim option, and choose
the portion you want to remove from your video. Click the beginning of the
portion and press split. Next, you need to select the portion from the split
portion. Repeat the process if you want to crop some other portion out of your
video. Take a look at the preview before finalizing.
§ Step 7 – Add an End Screen
Having an end screen will give your viewers
a proper way to navigate to your other options. In the end screen, you can give
a subscribe option or a link to your other videos as well. You can add
playlists or any related content as well. First, click on the screen icon shown
at the end of your timeline panel. The image below displays the end screen icon
outlined distinctively in red. You can add your existing end screen by clicking
on Apply template option of the pop-up menu. You can choose from the editor’s
native options as well. These options are video, playlist, subscribe, channel,
or link.
There are plenty of other options other
than just editing the videos as well that you need to take care of before you
upload the final product to your channel. Including a thumbnail and baseline,
your video should tell a story in the simplest way to reach the maximum
audience easily.
However, you can now start creating some
amazing videos and put them for promotion with Videoipsum. This site offers
some exclusive deals to get fruitful results, right away.
Popular Posts
April 11,2023
August 30,2022
September 24,2022
November 11,2020